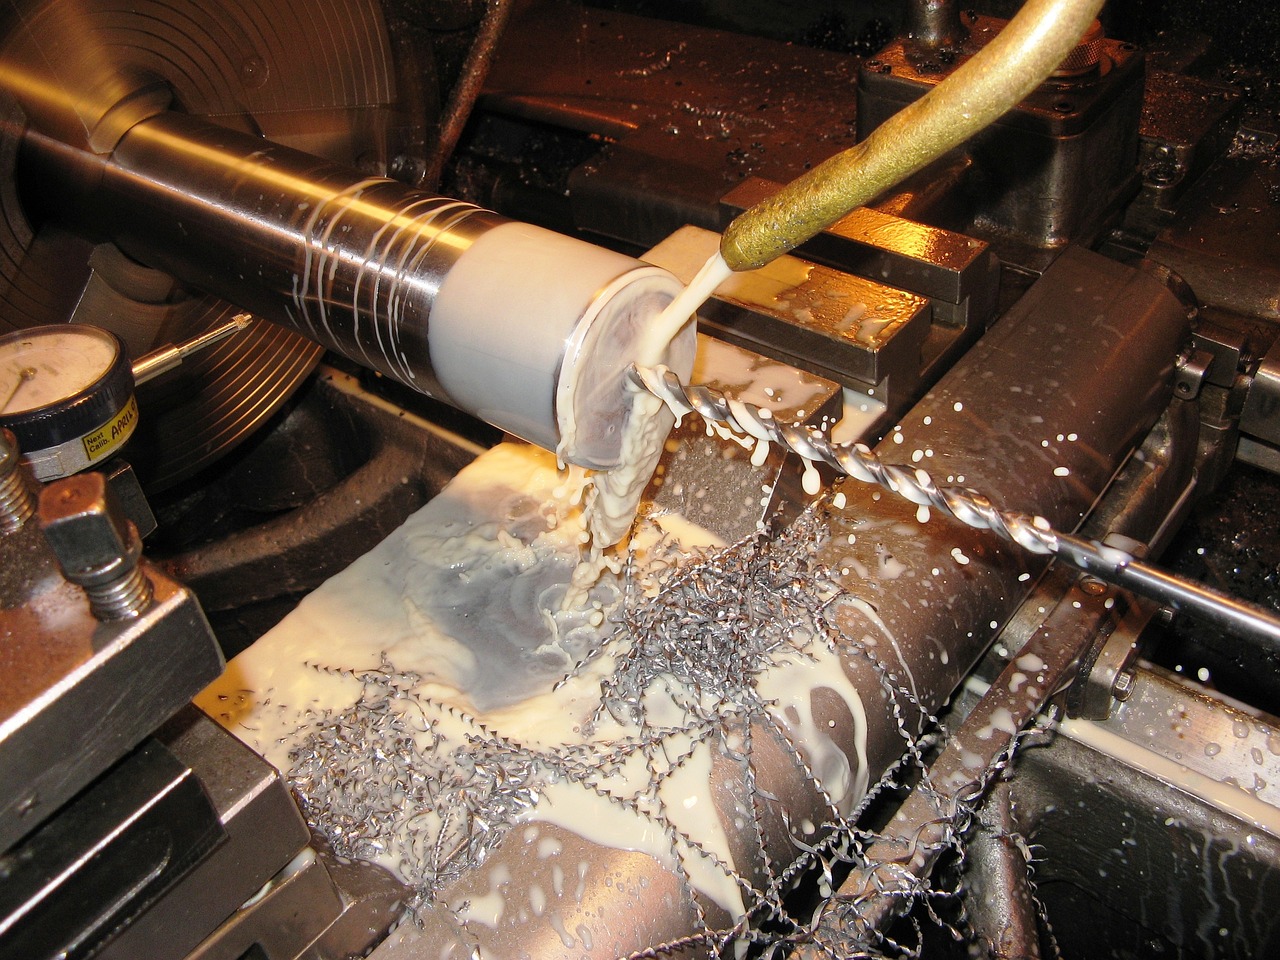
Drilling is a task that demands precision and, most importantly, sharp drill bits. With the myriad of materials we drill into, our drill bits gradually lose their sharp edge, reducing their effectiveness and productivity. However, with the right knowledge, these essential tools can regain their initial glory and serve you efficiently for a longer time. The best way to sharpen drill bits involves understanding the structure of the drill bit, the importance of a sharpening angle, and applying the correct sharpening technique.
The Anatomy of a Drill Bit
To embark on the journey of drill bit sharpening, it’s important to first understand the anatomy of the bit itself. A drill bit, in its simplest form, consists of the shank, the body, and the point. The shank is the part that fits into the drill, the body is the long cylindrical part, and the point is the cutting edge that does the actual drilling. It’s the point that requires our attention when sharpening. It’s here where the two cutting edges meet at the drill bit tip, forming the cutting angle, which we must maintain during the sharpening process.
Sharpening Angle Is A Critical Detail
The key to the best sharpening technique lies in the careful maintenance of the bit’s angle. Generally, a standard twist drill bit should have a point angle of 118 degrees. However, depending on the hardness of the material to be drilled, this angle may vary. A steeper angle (135 degrees) is preferred for harder materials like stainless steel, while a less steep angle is used for softer materials. But remember, the sharpening angle must remain consistent for effective and efficient drilling.
Manual Sharpening: A Test of Skill
Manual sharpening is considered a skill in the realm of tool maintenance. It demands patience, attention to detail, and a steady hand. This technique involves using a bench grinder, where you hold the drill bit against the grinding wheel at the correct angle, moving it around to sharpen the cutting edges. Manual sharpening might seem a bit daunting at first, but with practice, you will hone this skill, leading to improved performance of your drill bits.
Securing the Drill Bit
When sharpening a drill bit, it’s paramount to secure the bit effectively to ensure your safety and the quality of the sharpening process. A poorly secured drill bit can lead to an unevenly sharpened bit or, worse, injuries. Whether you are using a vise or your hands to hold the bit, it is important to apply steady pressure, maintaining the correct angle during the sharpening process.
Prolonged Lifespan of Your Drill Bits
While sharpening is essential to retain the effectiveness of your drill bits, general maintenance shouldn’t be overlooked. Cleaning your drill bits after each use, storing them properly to prevent rust, and regularly checking for signs of wear are all integral parts of drill bit care. Remember, a well-maintained tool not only performs better but also lasts longer, saving you time, effort, and money in the long run.
Step By Step – How to Sharpen A Drill Bit:
Step 1: Set Up Your Workspace
Clear your workstation, ensuring you have plenty of room to move. You’ll need a bench grinder or a specialized drill bit sharpener. Put on safety glasses and gloves for protection.
Step 2: Identify the Drill Bit Angle
Examine your drill bit. Most standard bits have a 118-degree point angle. You’ll need to mimic this when grinding.
Step 3: Hold Your Bit Correctly
Your drill bit should be held at the correct angle relative to the grinding wheel. For a 118-degree point, the drill should be tilted about 59 degrees from the wheel’s face.
Step 4: Begin the Grinding Process
With a steady hand, bring your drill bit into contact with the grinder. Keep the bit cool by dipping it in a pot of water periodically, ensuring you don’t overheat and thus ruin the temper of the bit.
Step 5: Refine the Edges
Use gentle pressure and a controlled motion to refine each cutting edge, checking your progress often. The aim is to maintain symmetry and the correct angle.
Step 6: Check Your Work
Inspect the sharpened bit closely. The cutting edges should be sharp and symmetrical. Run your gloved finger gently over the bit—it should feel smooth, with no burrs or rough spots.
Step 7: Test the Drill Bit
In a scrap piece of wood or metal, test out your newly sharpened bit. It should cut smoothly with little resistance. If it struggles, repeat the process until satisfied.
Enjoy the satisfaction that comes with giving new life to your tools and revel in the precision and efficiency your newly sharpened drill bit delivers.
